Mini Race Crates Tier List
Which crate tiers deserve your budget at each stage — labeled as community value estimates.
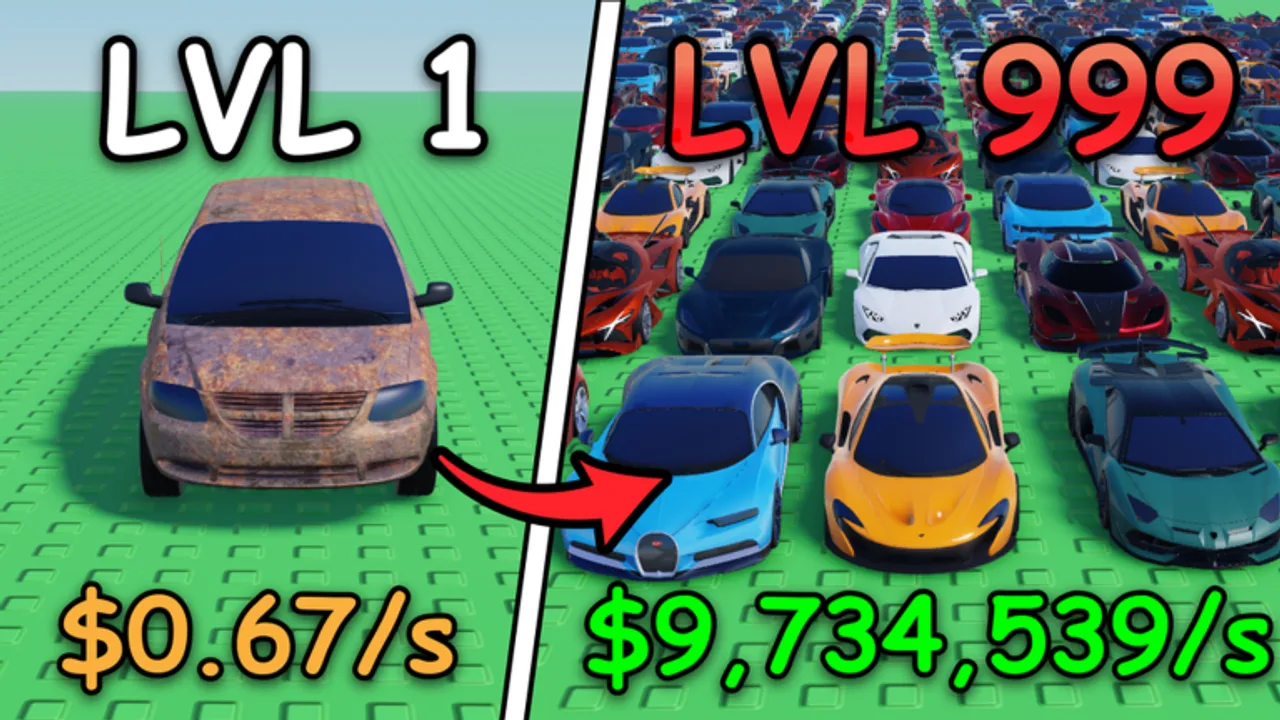
This Crates Tier List ranks relative open value in Mini Race [AUCTIONS] for different account stages. Like the cars page, these are community meta estimates, not a developer odds legal sheet. Prices, banners, and weights can change, so re-check live menus and Updates after patches.
Read this before spending sessions. Then execute with the process rules in Crate Strategy. Ranks without discipline still drain accounts.
What “value” means here
A crate tier ranks highly when it tends to:
- Produce cars that can enter the race pool
- Generate sellable duplicates that refund part of the spend
- Match the budgets of the players who should be opening it
- Compete well against alternative sinks (buildings, circuits, auction reserves)
A crate ranks poorly when it is commonly opened for vibes, requires ruinous miss tolerance, or targets completion goals before the economy can support them.
S-tier value: mid-game workhorse crates
Mid-tier workhorse crates usually deliver the best progression per thoughtful spend for established beginners and mid-game players. They are where rare race staples often enter the account without demanding late-game surplus.
Open these when:
- You already finished the Getting Started loop
- Circuit cash or duplicate sales can refill the budget
- You have a named lineup slot to improve — see Cars Tier List
They drop toward A or B if you spam them with no sell routine.
A-tier value: controlled premium crates with surplus
Premium crates earn A when your reserves are real. Ceiling outcomes can redefine an anchor. Average outcomes hurt less if buildings and circuits are already healthy.
They fall to C or worse for early accounts that skip garages, circuits, and staples to chase jackpots. If winning an open would still leave you unable to fund Circuit Cash defense or a planned building, wait.
A-tier situational: targeted event or special crates
Event / special crates are A when they aim at a role you need and the banner timing matches your cash plan. They are D when you buy them only because the UI is loud.
Ask: does this event crate advance race strength, a declared collection goal, or neither? Neither means walk away.
B-tier: starter and low crates (context dependent)
Starter / low crates are B overall but A during onboarding. They teach the open flow, seed commons, and create duplicate fuel. After you have a functioning race sheet, their relative value usually slips unless you specifically need cheap recycle volume.
New players should still open at least one early crate as part of hour one. Veterans should not live here forever.
C-tier: unplanned mixed spending
Not a literal crate shelf label — a behavior tier. Opening “a bit of everything” without a goal turns even decent crates into C-tier value. Pick a lane for the session.
D–F: revenge opens and rent-money premiums
Revenge opens after losses and premium crates bought with critical rent money are F for account health. They are how players fund someone else’s highlight reel. Stop, sell duplicates, race a fair matchup, or capture a circuit instead. Review How to Win Races and Auction Garages if emotional spending is leaking into multiple systems.
Value by account stage
Early game
- Redeem codes such as RELEASE via the Codes Hub
- Low-to-mid crates in small counts
- Sell duplicates
- Buy starter garage capacity before premium banners
Mid game
- Mid workhorse crates on a schedule
- Occasional special crates only if targeted
- Premium only with labeled surplus
- Always compare spend to buildings in the 60+ shop — see Buildings
Late game
- Premium and special crates for completion and anchor hunting
- Keep auction reserves separate
- Do not neglect circuits because crates feel more exciting
Quick tier snapshot
| Crate archetype | Early-game value | Mid-game value | Late-game value |
|---|---|---|---|
| Starter / low | A | C–B | D |
| Mid workhorse | B–A | S | A |
| Premium | D–C | B–A | S–A |
| Event / special | C | A if targeted | A–S if targeted |
| Revenge spam any tier | F | F | F |
Connecting crate ranks to car ranks
Opening an S-value crate still fails if you mis-slot the cars. After each planned open:
- Map pulls to archetypes on the Cars Tier List
- Update the race sheet
- Sell fodder
- Park intentional collection holds using Car Collection
Crates and cars are one pipeline. The Tier List Hub exists so you do not optimize only half of it.
Spending checklist before you click open
- Is circuit income ticking?
- Is there a one-sentence pull goal?
- Is auction or building money protected if those goals matter this week?
- Do you know how many opens you will stop at?
- Will you sort and sell immediately after?
If any answer is no, the crate’s tier on this page does not matter yet.
Final reminder
The best crate is the one that matches your bottleneck. Empty race sheet? Workhorse mid crates. Empty wallet? Circuits and sales first. Empty attention? Do not open at all tonight. Mini Race rewards planned procurement — not permanent banner hypnosis.
For process detail, return to Crate Strategy. For the wider strategy map, use the Guides Hub and Cars & Buildings.
Frequently Asked Questions
Quick answers to the most common questions.
Which Mini Race crates are best overall?
For most progressing accounts, mid-tier workhorse crates offer the best planned value. Premium crates rise when you truly have surplus and a clear anchor or completion goal.
Are event crates always worth buying?
Only when they target a role or collection goal you already care about. Banner pressure alone is not value.
Should I skip low crates completely?
Not in the first hour. They teach the system and seed duplicates. Later, open them less unless you specifically need cheap recycle volume.
How often does this crate tier list change?
Whenever updates shift prices, pools, or new special crates arrive. Recheck the live shop and the Updates Hub after major patches.